|
This article applies to:
|
This is particularly useful when you want to audit your users and ensure the right staff have the data, access and notifications they need to perform their roles optimally
- Log in to your GuestRevu account at https://my.guestrevuapp.com
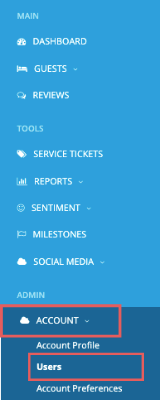
- Click on Account > Users
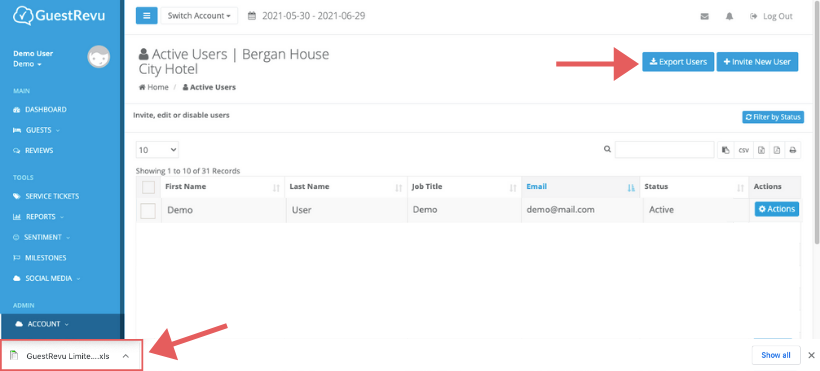
By default, the user list is set to show 10 users at a time. If there are more than 10 users on your account, you will need to select "All" in the dropdown menu above the user list to make sure that it shows all the users. - Once you have ensured you can see all your users, select the Export Users button on the top right hand of the screen. This will automatically download your users into an Excel spreadsheet.
Can I export this data in other formats?
Yes, you can export in different formats. The following formats can be used: Copy: This will copy the user information as it is displayed on your screen. This can then be pasted into a document or spreadsheet as necessary
CSV: This will export the user database as a downloadable CSV file
Excel: This will export the user database as a downloadable XLSX file
PDF: This will export the user information as it is displayed on your screen as a downloadable PDF file
Print: This will send the user information as it is displayed on your screen to your printer
The Export Users button will download your data as a .xlsx file. To export your data in one of the other formats, select the one you prefer from the options next to the search bar. The report will automatically download. This will only download what is visible on your screen. To ensure you download all users, please change the toggle at the top to show all users instead of 10.

Can I export a filtered list of users?
Yes, you can also export a filtered list of users by clicking "Filter by Status". This will give you the following filter options:
- All - Every user who has ever had access, regardless of status (i.e. deleted or pending)
- Active - Users who have activated their user and have access to the account
- Pending - Users who have not activated their user account (They may need to be resent the invite)
- Deleted - Users who have been removed and no longer has access
You can also filter the user's list using the search function. For example, you may want to search for a particular name, surname, or email domain by using the search bar.

This can be useful if, for example, you work with a management company or a marketing company that has a different email domain to the property’s domain, and you want to see which users from each organisation have access to your data.
What information is in the Export?
In the export you will see the following information:
- User Details - email, phone and job title, created date and last login
- Automated Notifications - which email notifications the user has opted to receive (such as alerts, daily summaries, and monthly reports)
- Access - what the user can see and access in the account
Can I view users at the Account Group level?
Yes, however, this is not done from inside the Account Group, rather it is done on the Home page (which is the first page you land on if you have access to multiple properties’ accounts).
To view all users on all accounts you have access to, click Home and then select Users from the left-hand menu.

How do I update user details and settings?
To update other users’ details or perform any oy of the following actions, you will need to be the account owner:
- Edit Details and Notifications
- Revoke access or Delete a user
- Adding a new user
- Selecting or restricting user access
To edit your own user details and notifications click here
Top Tip
Now that all your users are updated you may want to make sure your surveys and emails are up to date and provide the right information. Start by Previewing your questionnaire.