Part 1: Adding a language option
- Log in to your GuestRevu account at https://my.guestrevuapp.com/
-
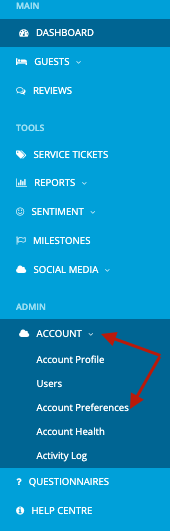
In the main menu in the blue panel to the left of your screen, click on Account > Account Preferences
-
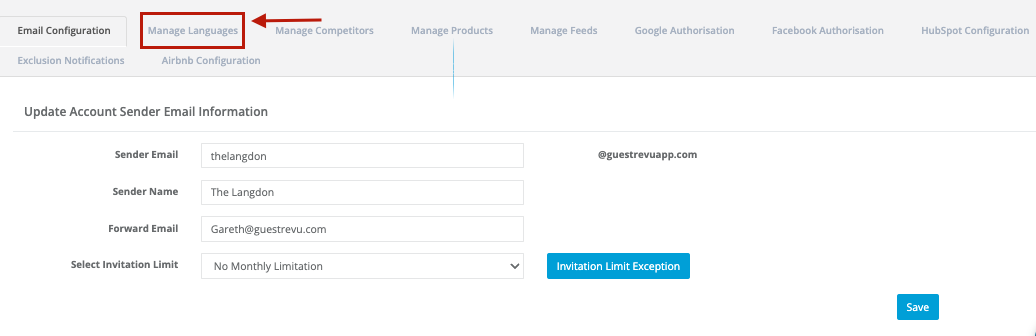
Select the Manage Languages tab at the top of your screen
-
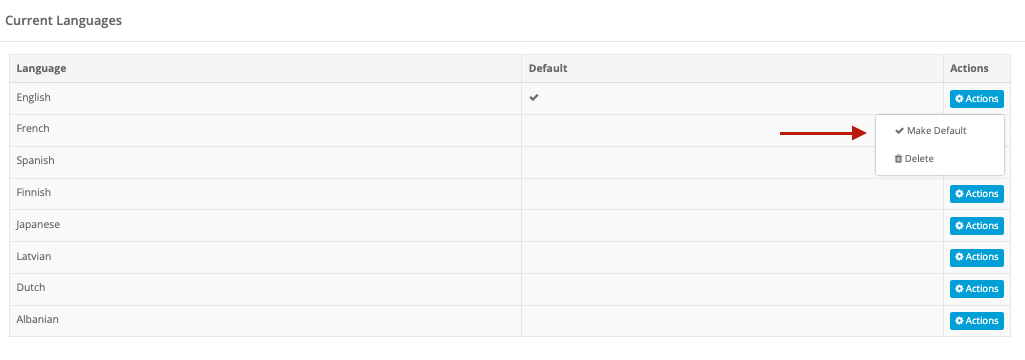
Click on Select an option in the dropdown box next to Choose a Language. Select your language from the list and then click on the Add button. You will now see the chosen language listed in the Current Languages table.
-
Your default language will display a tick under the Default column. To change the default language, click on the Actions button in the row of the language you would like to set as the default, and then click on Make Default

Part 2: Translating your questions
You can now add translation text to your survey in one of two ways:
- Option 1: Manually
- Option 2: Bulk export and import
Option 1: Adding your translation text manually
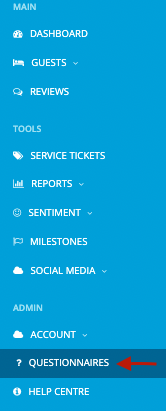
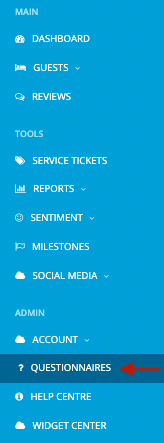
- In the main menu in the blue panel to the left of your screen, click on Questionnaires
-
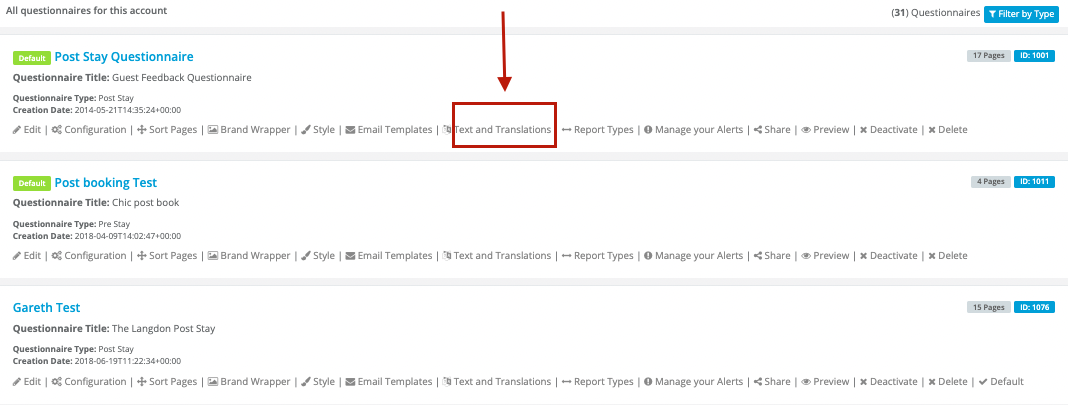
Find the survey you would like to translate, and click on Text and Translations
-
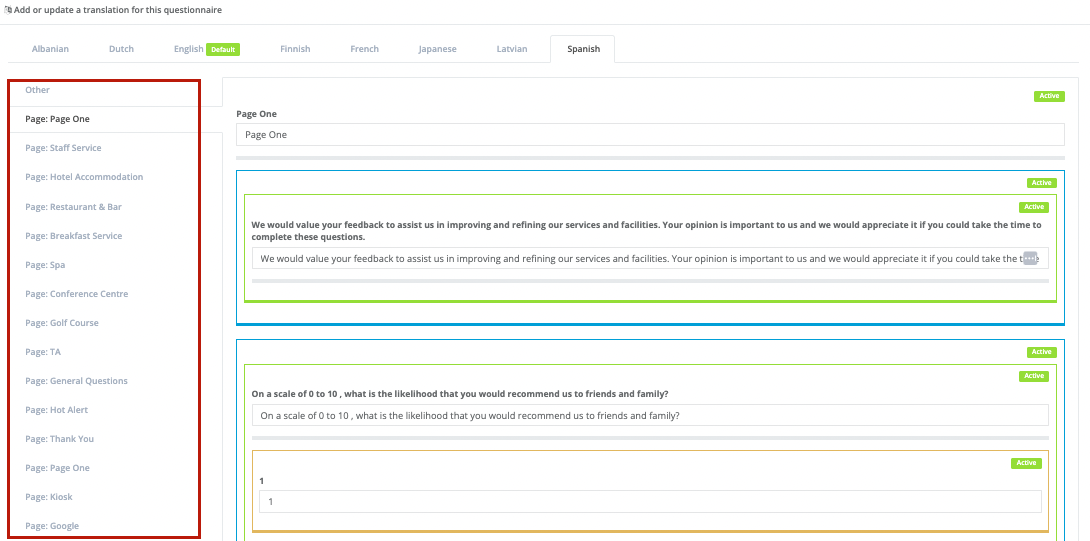
You will now see the available language options (you added your new language option in Part 1). To add translations for your questions for a certain language, click on that language.
-
Navigate to the various pages of your survey on the panel to the left of the screen (see highlighted in red in the image below)
-
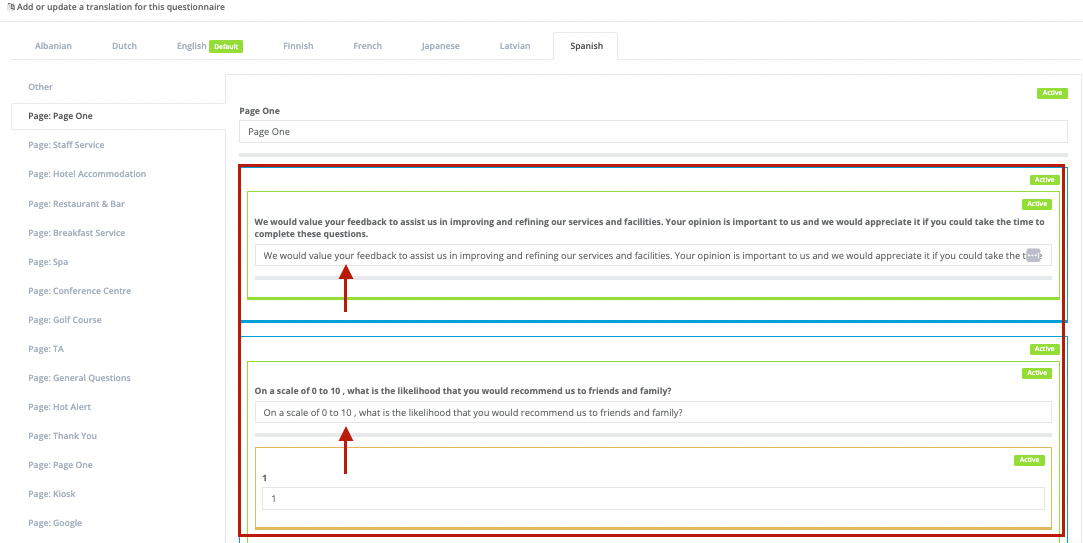
To the right of the screen, you can add the translated text that will replace the default language for each question.
-
Once you have entered your translation text for the questions on a page, click on Submit right at the bottom of the screen to save your work, before proceeding to the next page.

If you would like to add more than one translation, you can simply repeat the process above for each additional language.
Top Tip: Translations for questions that occur more than once in your surveys can be added once. To use this functionality, click on the Duplicate Strings tab in the page menu.
To view all your survey questions on one long page, click on the All Strings tab in the page menu.
Option 2: Bulk export and import of your translation text
-
In the main menu in the blue panel to the left of your screen, click on Questionnaires
-
Find the survey you would like to translate, and click on Text and Translations
-
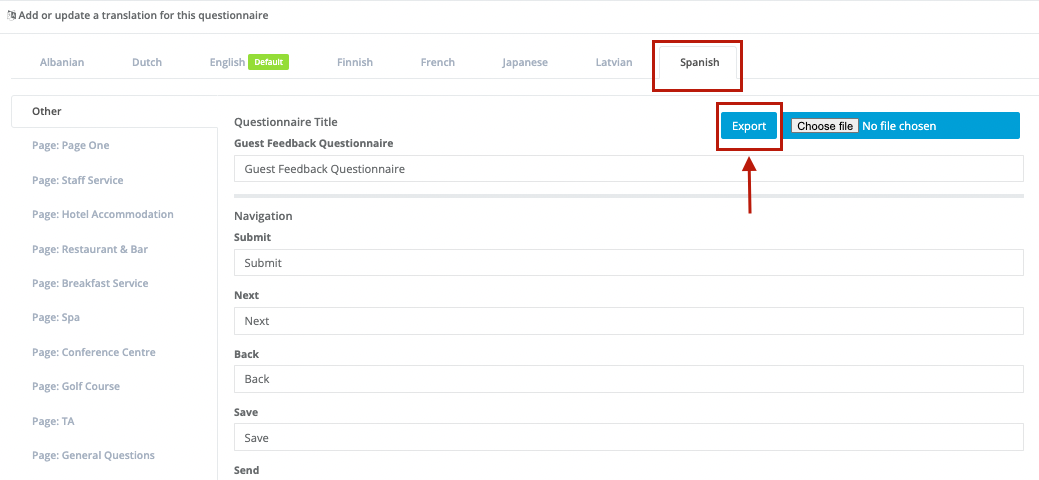
You will now see the available language options (you added your new language option in Part 1). Click on the language you would like to add a translation for and then click on the Export button
-
Once the export has been downloaded, name the file and save it to your computer as a .xls file. Then add the translation text into the second column of the spreadsheet
-
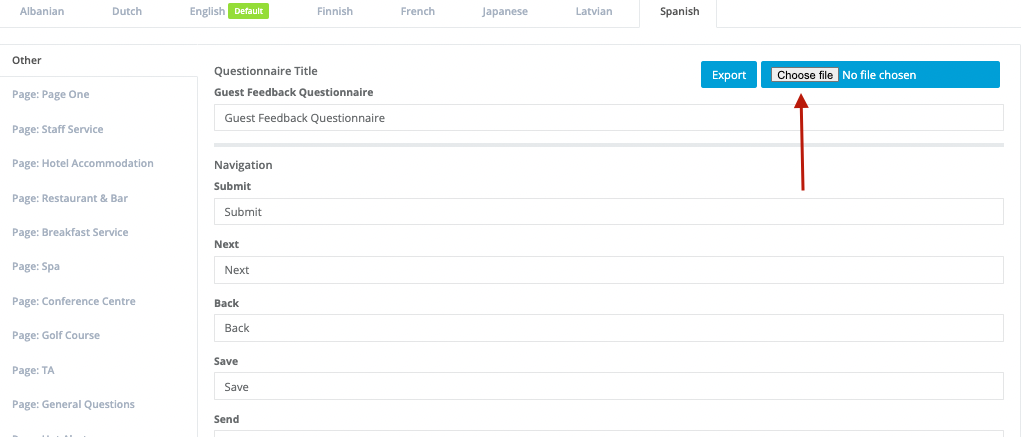
Once you have added the translations for each question to your sheet, you can import the text back into GuestRevu. On the same page where you downloaded the question text file, click on Choose File (right next to where you clicked Export). Find your saved file on your computer and click Open. This will upload the translation back into your GuestRevu account
-
Once the upload has completed, you will see a green message pop up at the top of your screen to confirm that the upload was successful.


After making any changes to your questionnaire, it’s always a good idea to preview your questionnaire to make sure everything looks the way you want it to.
NOTE: Each question in the survey has an ID, all of which need to be present when you import your file again. Please do not delete any rows in this document as you edit it.
Questions that have been deactivated in your survey will still be visible on this export. You can ignore these entries and leave them blank.